
After some measuring, more measuring and several conversations with the people at Blue Lagoon (A Dutch Terrarium shop who build custom terrariums / paludariums), I pulled the trigged and put in an order.
The Big Bad Glass Box has arrived!
It took them less than a week to build. I got a phone call that my paludarium was ready for delivery… So I needed to speed up the construction of the cabinet! I had triple verified where the holes should be drilled in the glass… But that stays exiting every time. Will they have drilled in the right place, did they measure from the outer wall or the inner wall? Did *I* measure correctly when I drilled three big ugly holes in the cabinet for the PVC piping to go through? Luckily, in the end it all worked out great.
Read more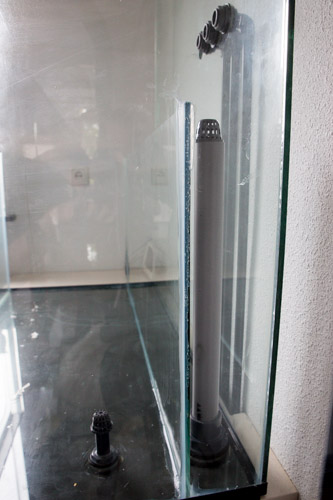


 RSS
RSS LinkedIn
 Twitter
 Email
Email
Nice post, thanks !