Author Archives: Erik Zandboer

The way of water: The WaterWorx

I get quite some questions regarding the water household in the new paludarium. When I try to explain, I was always like “wish I had a picture of this”. And now I do!

Introducing “The WaterWorx”

The WaterWorx is a compilation of all water management related things that drive the paludarium. It consists of pumps, valves, tubes, containers, level sensors and things like a reverse-osmosis unit. All of these things are controlled by Artemis, the embedded controller (that is actually Arduino based). The Raspberry Pi on top of Artemis also does some monitoring and higher-level controlling as well. To just drop you an image of the WaterWorx, here it is:

Part 1: Reverse osmosis unit

Read more »

New inhabitants: Poison dart frogs and more

As the paludarium starts to work stable, I decided it was time to add some new inhabitants: Poison dart frogs. This is a welcome addition as it adds some more life during the daytime hours.

Which frogs to choose – Phyllobates

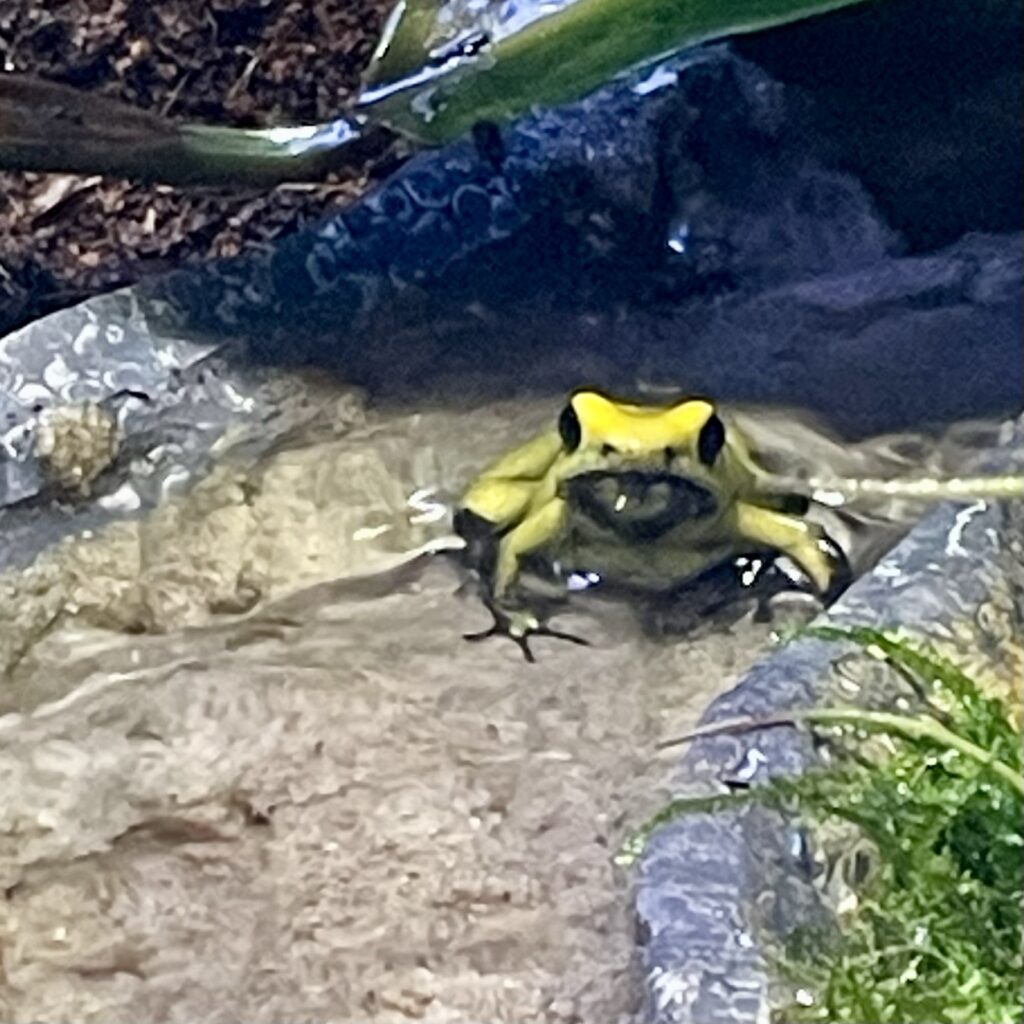
It was hard to make a decision. As I already have a red-eyed maki tree frog in the setup, choices we limited as the tree frog will consider a lot of the smaller poison dart frogs as food. So I ended up looking at larger species, and ended up with the black-legged poison dart frog (Phyllobates bicolor). They are in excess of 4cm in size, which should make sure they do not become a midnight snack. Here are some of the first images:

They seem happy in the new setup, always chasing fruit flies or small crickets.

More poison dart frogs – Dendrobates

Read more »

Cloud-native ramblings: Adding Redis

Many people think I am “just” building a paludarium… But they don’t see the complex world of automation behind it. In fact, there is a full blown application running the paludarium, build in a limited-but-functional cloud-native architecture.

This architecture is limited… Because you can have multiple instances of your microservices… But in the end there is only one piece of hardware to control. A single relais, a single led light, a single pump, a single valve and a single level sensor. And this is a problem; what if multiple microservices all talk to the one hardware platform at the same time? I needed a way to put a lock on who can send commands, and Redis came to the rescue.

The limitations of having “one hardware”

What if you have all kinds of microservices and functions that all want to talk to a single hardware platform? There are several functions and services that want to talk to the hardware:

Read more »

Building a styrofoam waterfall

One of the main features in any of my paludariums is a significant water body. As I then have both land and water, a waterfall should definitely be part of the setup! I have always created my waterfalls out of styrofoam. In this post I will share more details (and do’s and don’ts)

Sourcing styrofoam

This turned out to be one of the hardest things: Where to get a styrofoam block thicker than 8cm without the need to buy a truckload of it? This turned out to be harder than I thought. For previous builds I have always been lucky to find pieces of styrofoam casted away at build sites. The best one was a road being reconstructed near my home that ran through the marshlands. They constructed this road… Floating on styrofoam. You can imagine the size of those blocks! Even the smallest piece of discarded styrofoam would not fit in the trunk of my car 😛

For the previous build I wasn’t that lucky. In the end I settled for layers of thinner (5cm) styrofoam plates glued together; a “don’t” as I was soon to find out.

Read more »

Cricket-proof way to run wires into a paludarium

If there is one thing I have noticed (and my wife hates) is that through ANY hole in a paludarium, crickets will find a way out. One of the toughest problems to solve is how to decently create a feed-through for wires and 6mm hoses that are guaranteed to be “cricket escape proof”.

It still starts with large holes

In order to make sure I can always run any wires or hoses into the paludarium, I started out with having three large (40mm diameter) holes drilled in the top of the paludarium:

It still starts with holes… 😉

I my case the company that built the glass encloseure only had a limited set of hole sizes they could cut. I ended up with 40mm. I measured them afterwards to get the exact size (and glass thickness). I then fired up Fusion360 and drew up a design that would allow me to place a neatly fitting plug in the holes.

Next, I designed 6mm holes in the plug, and I also printed tiny sliders that can cover those holes. The end result:

Top and bottom view of the cricket-proof plugs

These plugs are now inserted into the large holes on top. By default all the sliders are closed, but whenever I want to run a wire or hose I simply open up a slider and feed the wire through. I then reclose the slider as far as I can, effectively sealing the holes shut. No crickets shall pass!

Progress on the Aeryn module

Building out the new paludarium follows two “golden” rules: 1) No tech inside 2) create everything in a modular fashion. Following these rules I came up with the Aeryn module. This module is in charge of one of the most important things for the land portion of a paludarium: Conditioning the air.

Requirements for the Aeryn Module

The Aeryn module should be able to utilize the surrounding air (my living room) and convert that into “jungle-compatible” air. In the early stages of building paludariums I quickly discovered that airflow is the number one factor to influence humidity. Heating the air used to be done by heating the water mass, and the air would more or less follow that temperature. Adding a mistmaker inside the setup would allow for quickly rising the humidity.

In the new setup I wanted to pack all of this (and more) into a single replaceable module: The Aeryn module. These are the requirements I set:

Read more »

Watering the background

One of the tricks I have been using to keep things growing everywhere in the paludarium is by regularly watering the background. In this post I will describe how I made a spray bar and how I mounted it inside.

The idea

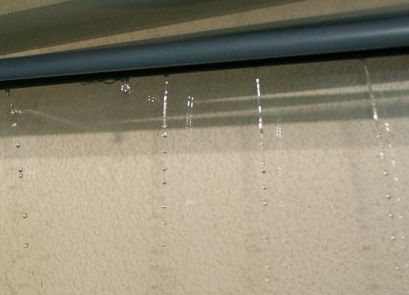
In order to get water onto the background and have it nicely sift through I have been using a 12mm PVC tube with a series of 1.5mm holes drilled into it. Really simple, and works well even with the smallest of pumps:

Example from an older setup on how to use a spray bar

Mounting the PVC pipe

Read more »

The Aeryn module: Palu Air Conditioning

The Aeryn module was designed to allow air to be taken into the paludarium, heated and/or moisturized (mist) before it enters the setup. This is all part of the idea to have “no tech inside” but rather outside for easier access, maintenance and replace with updated versions.

What is Aeryn

Remember the sci-fi series “Farscape”? I originally designed this module named the Aether module. In honor of Farscape I renamed this module to Aeryn 🙂

The Aeryn module is a box-shaped module approximately 60x15x13cm in size, and is inserted into the hood above the paludarium. It lines up with two 12cm holes in the ceiling, where two fans draw in air from the outside. On the end of the module a 40mm pipe leads to the meshed strip on top of the paludarium where the conditioned air gets inserted.

Aeryn section 1: the air intake

The first section of the Aeryn module contains two 120mm fans, RPM regulated (and RPM measured back). These fans are put on top of the module, blowing down into the module. So first the airflow needs to be guided to flow sideways, which is accomplished using a 3D printed guide as shown below:

First section: After the air is pushed in from the top using two 120mm fans, this 3D printed guide directs the air to the left, on to the next sections of the Aeryn module.
Read more »

Artemis v1.22: The new automation module

As you may have noticed, I love calling everything a “module” more and more. And with good reason: If you build a project of this size, splitting up in modules makes sense. It allows you to focus on PART of the problem, and replace the module if you find something smarter / better.

Required specs for the new automation hardware

As I was building out something new, I figured it should be big and bad enough to handle anything I want to throw at it, PLUS have room for future expansion. As I was falling in love with many smaller light sources again, and the RGB-CCT led panels, I came to the conclusion that whatever hardware I build, it has to have MANY channels I can use to control and possibly dim all hardware. Just as an idea, I wanted to use three RGB-CCT led panels, and those use 5 channels each for red, green, blue, cold- and warm white. So that is 15 PWM channels at 24V already maxing out an Arduino Mega (which has exactly 15 PWM outputs). So I needed more. Time to grab back to my faithful PCA9586 PWM I2C-based controllers. I would not place them onboard this time, but design them as separate modules that I could either place on top of the Artemis Controller, or optionally somewhere else (just running power to them and the I2C connection).

In the end, this is the huge wishlist I cam up with regarding the automation hardware:

Read more »

Artemis hard- and software = WORKING!

After more testing, more writing code and more debugging I have finally managed to call the code inside the Artemis as COMPLETE. The last few bits and pieces came together, so next step will be to work on the higher level software inside the Raspberry Pi.

Artemis has been put through it paces. It all seems to work OK now, Although I did need to make some changes here and there…

Read more: Artemis hard- and software = WORKING!

NeoPixel Ledstrip: Working

So The “smart” led strips with the WS2812b smart leds on board refused to work initially. After a lot of debugging I figured out that the first NeoPixel, the onboard ws2812b was the culprit. It just would not work properly, even though it would pass the bitbanged stuff to the rest of the led strip in the correct way.

Read more »